Move Out Inspection Checklist: What’s Worth Fixing Before You Hand Back the Keys
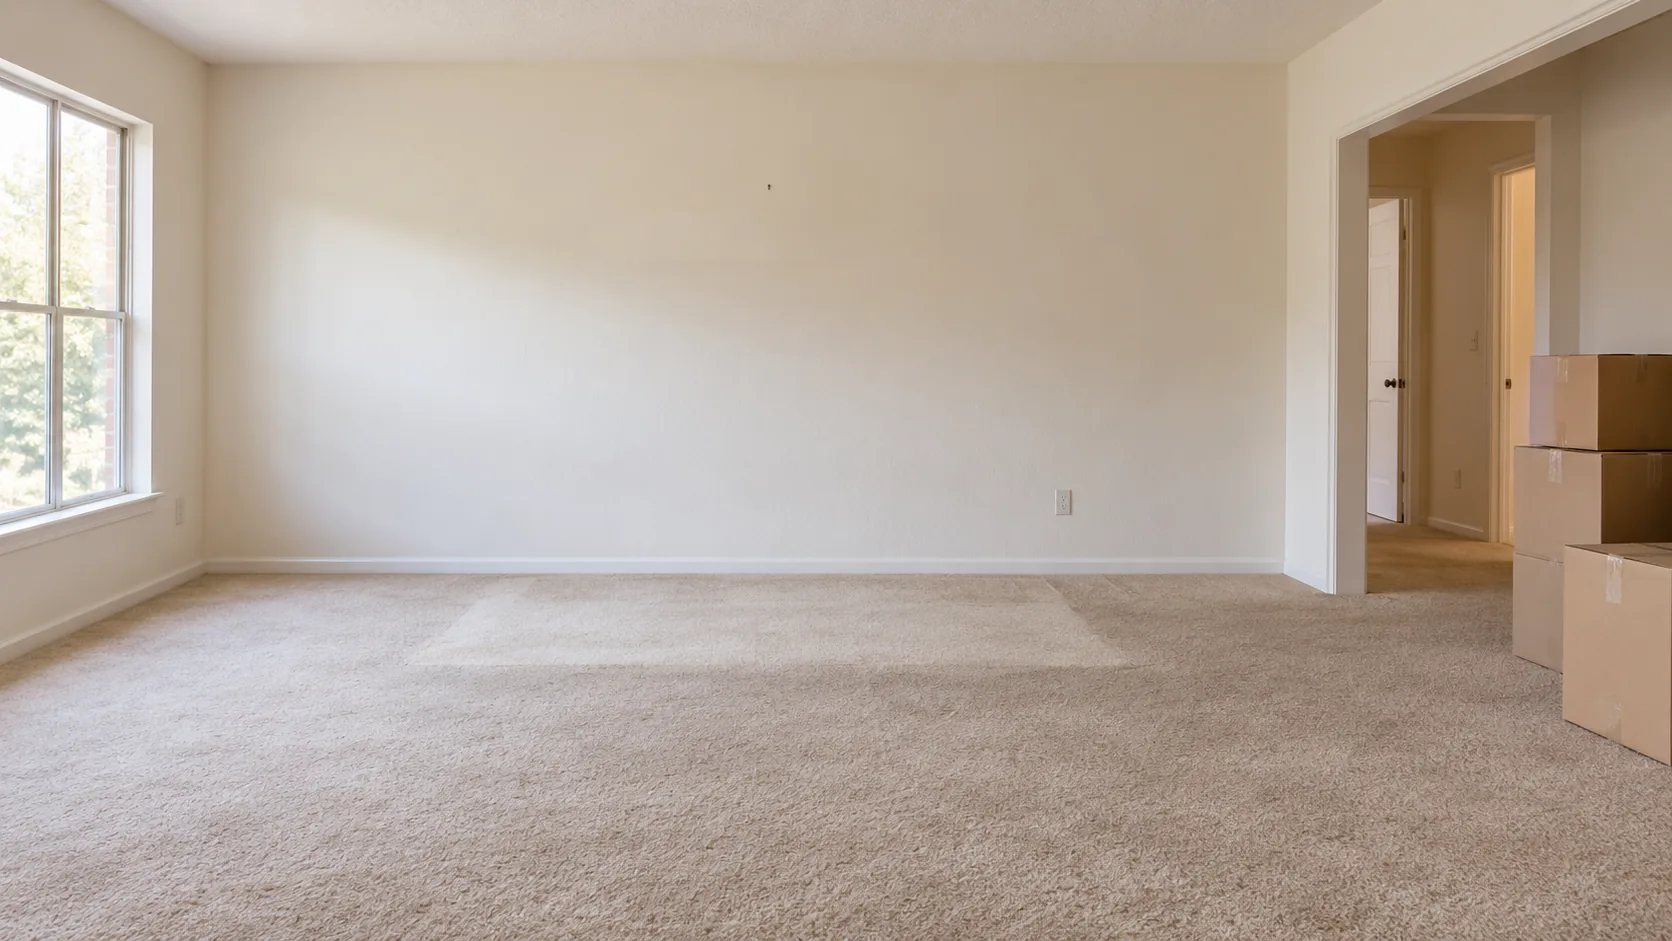
The couch left with the movers an hour ago, and the carpet it covered is a slightly different color from the rest of the room. There’s also a small crater in the hallway drywall where a coat hook used to hang, and the hardware store closes at six.
A move-out inspection checklist is a room-by-room list a renter uses before returning the keys to check the unit’s final condition, decide what to clean or correct, photograph what remains, and compare it against the condition recorded at move-in. It covers walls, floors, fixtures, appliances, and storage areas.
Very little of that list belongs to the last morning. A renter’s strongest position at a move-out inspection comes from holding the apartment’s final condition up against dated evidence from the first week, which is why the photos and notes from a move-in inspection checklist matter more now than they did when you took them. Without that baseline, the conversation about a hallway scuff comes down to two people’s memories.
What follows covers the decisions between that baseline and the key handover: what to correct, what to leave alone, and when.
Repair, Document, or Leave It Alone
Every mark you find while walking your own apartment ends up in one of three piles.
Repair, which in practice mostly means reverse. These are things you can clean off or undo without changing the surface underneath: adhesive residue on a painted wall, grease film on a range hood, soap scum on a shower door, a bracket you installed and can now take down. The test is whether the result looks like the original surface, not like a new version of it.
Document covers anything that might be disputed, anything you’re unsure about, and anything already visible in your move-in record. You photograph it before touching it. Often that’s the whole job.
Leave alone is for problems where an improvised fix could make the affected area larger, shinier, or more obvious. A gouge in a floor finish you can’t identify, a wall patch that would need paint you can’t match, a blind slat that might snap if you try to re-seat it. These still get photographed. They just don’t get an amateur repair layered on top.
The piles aren’t fixed. A nail hole belongs in the first pile if you have the exact paint and in the third if you don’t. What decides it is almost always how much you know about the material, and that’s where a renter’s information runs out fastest. You rarely know the paint brand, the sheen, or the floor’s finish coat, and none of it is written on the surface.
Wear, Damage, and Why the Difference Surfaces at Move-Out
Whether a condition is treated as ordinary wear or as damage can decide whether it turns into a deduction, and that line isn’t drawn the same way everywhere. Leases differ. State and local deposit rules differ, and so do the condition standards individual properties set for themselves. This guide can’t tell you where your line sits; your lease and the rules that apply where you live can.
What you can control is how precisely you describe what you’re looking at, because the description is what gets compared. A few observational distinctions help when you’re writing notes or framing photos:
Gradual surface wear versus a fresh gouge. Worn finish along a walking path looks dull and even, with soft edges that fade into the surrounding floor. A gouge has a defined edge and often shows material the surface normally hides, such as raw wood, bright carpet backing, or torn drywall paper.
Fading versus a stain. Fading tends to follow the light, so it may track the shape of a window or stop sharply where a rug used to be. A stain has a boundary unrelated to light, like a ring, a drip line, or a spill shape.
A loose fixture versus a broken component. A towel bar that wobbles because a screw has backed out is a different finding from one whose bracket has cracked or pulled a chunk of drywall with it.
None of these descriptions settles who is responsible for anything. They make your notes readable to someone who wasn’t in the room: location, approximate size, and whether the spot appears in your move-in record.
The Move-Out Inspection Checklist, Room by Room
No general list can tell you what a particular landlord looks for at a move-out inspection, and any written move-out instructions you’ve been given outrank this one. Use it to sort each item into a pile. Where an item points back to your move-in record, open the matching photo before you do anything else.
Walls and ceilings
- Adhesive residue where strips, hooks, or tape were. Try any removal method on a hidden spot first, since flat paint can lift or turn shiny under rubbing. For the strips themselves, the steps are in our guide to safely removing adhesive strips and other renter-friendly wall hangings.
- Small nail and screw holes. Count and photograph them before deciding anything, then compare with move-in photos of the same wall. Check whether your lease or move-out instructions say anything about filling them.
- Patches you’ve already made. Hold a phone flashlight flat against the wall. A patch that sits proud or reads as a shiny spot under raking light is more visible than it looks head-on.
- Paint touch-ups. Only worth considering if you know the exact paint, color, and sheen. Color can match perfectly and still show at an angle if the sheen is off.
- Peel-and-stick wallpaper or decals you installed. Peel slowly at a low angle and watch for paint coming up with the backing. If paint does lift, stop and photograph before continuing; our notes on removing peel-and-stick wallpaper cover what to watch for.
- Marks at furniture height, like the line behind a headboard, which often only show once the room is empty.
- Ceiling marks near light fixtures or above tall furniture. Photograph them; ceilings are among the hardest surfaces to touch up without leaving a visible square.
Floors and carpets
- Areas that were under furniture. Photograph them as soon as each piece moves, before vacuuming. A timestamp helps show when the area was first exposed.
- Visible stains. If you know what caused one, that decides which cleaner is safe. Test in a closet corner first.
- Scuffs versus scratches in hard flooring. A scuff sits on top of the finish and may lift with cleaning. A scratch cuts into it, and rubbing harder won’t change that.
- Residue and dents from rug grippers, furniture pads, cord tape, or heavy furniture feet.
- Transitions and trim. Look at thresholds between rooms and baseboards near doors. A loose transition strip gets photographed, not glued.
Bathroom
- Soap buildup and hard-water marks on glass, tile, and fixtures. Check what the fixture finish is first; brushed and coated finishes can dull under abrasive or acidic cleaners.
- Caulk around the tub, shower, and sink. Photograph it as it is. Discolored or separating caulk is worth comparing with move-in photos rather than covering with a new bead.
- Fixtures: faucet handles, showerhead, towel bars, paper holder. Tighten only where a visible screw has simply backed out.
- Mirror edges and vanity interiors, including hook adhesive and water rings on shelves.
- Drains. Clear hair from stoppers you can lift out by hand. If the drain is still slow, report it in writing rather than escalating with tools you haven’t used before.
- Ventilation fan cover. If it’s held by spring clips and comes off easily, it can be washed. If it’s screwed in or resists, wipe it in place.
Kitchen
- Oven interior and door glass. Check the manual or model label before running a self-clean cycle or using a heavy-duty oven cleaner, since some interiors have coatings the wrong product can damage.
- Cooktop. Glass-ceramic surfaces scratch under abrasive pads. Coil tops have drip pans and knobs that come off for cleaning.
- Range hood filter and the underside of the hood, where grease film collects out of sight.
- Refrigerator and freezer shelves, drawers, and door gaskets. Follow any written instructions about whether to leave it running.
- Cabinets: shelf-liner adhesive inside, grease on the fronts nearest the stove.
- Sink and faucet, plus the disposal if there is one.
- Countertops. Material decides the cleaner. A product that’s fine on laminate can etch some natural stone, and a stone-safe cleaner may leave a film elsewhere. If you don’t know the material, start with water and mild dish soap, and photograph any existing mark before trying anything stronger.
- Under-sink cabinet. Photograph water staining or swelling in the cabinet floor and report it in writing before you leave.
Windows and window coverings
- Glass on the inside, and the outside only where you can reach it safely.
- Tracks, which collect grit and insects.
- Screens. Photograph tears or bent frames. Replacing screen mesh is fiddly, and a wavy re-spline can look worse than the tear.
- Blinds. Dust them, then check for bent slats and broken wands or cords. Photograph damage instead of forcing the mechanism.
- Curtain hardware. Take down anything you installed and leave the landlord’s hardware in place. If you used tension or no-drill curtain rods, check the window frame where the ends pressed for marks or residue.
- Other items you added, such as suction-cup hooks, adhesive clips, or window films. Remove them and photograph the surface afterward.
Closets, cabinets, and storage areas
- Closet floors and back corners, photographed once empty. These spots are easy to miss in move-in photos, so note whether you have a baseline for them at all.
- Shelves, rods, and organizers you installed. Remove your additions, check the mounting points, and look along top shelves for anything left behind.
- Assigned storage, balcony, or parking space if your lease includes one. Check it the same way as the rooms.
Is It Worth Fixing Yourself?
The table below sorts common findings by how risky the repair is compared with the problem. The last column describes how much attention the finding deserves in your records, not what it will cost you.
| Finding | Is It Worth Fixing Yourself? | Risk of Attempting the Fix | Deposit Risk |
|---|---|---|---|
| Adhesive residue on a painted wall | Often, if a gentle method removes it cleanly on a test spot | Rubbing through flat paint or leaving a burnished shiny patch | Lower documentation concern |
| A few small nail holes | Depends on what your lease or move-out instructions ask for | Filling and leaving white dots on a colored wall | Lease-specific |
| Tiny patch that still needs paint | Only if you have the exact paint and sheen | An unpainted or off-shade patch that’s more visible than the hole was | Compare with move-in records |
| Mismatched touch-up already done | Stop here; more coats of the same wrong paint won’t fix a sheen difference | Spreading the mismatch across a larger area | Potentially disputed |
| Excessive spackle around a hole | Light correction only, and only if you can repaint the spot | Sanding into a wide, scuffed halo | Worth documenting |
| Wall gouge with torn drywall paper | Rarely, without prior drywall experience | Visible texture change and a paint mismatch on top | Worth documenting |
| Carpet stain | One gentle, tested attempt if you know the cause | Rings, color loss, or frayed pile from over-wetting and scrubbing | Compare with move-in records |
| Dirty oven | Yes; cleaning is reversible work | Damaging a coated interior with the wrong cleaner or cycle | Lower documentation concern |
| Damaged blind | Only for simple adjustments you can undo | Snapping more slats or jamming the headrail | Potentially disputed |
| Loose hardware | Yes, where a visible screw has backed out | Stripping the screw hole or cracking tile around the mount | Worth documenting |
| Countertop stain | Only with a cleaner you know suits that material | Etching, dulling, or bleaching a wider area | Compare with move-in records |
When a DIY Fix Backfires
This isn’t an argument against repairing anything. It’s about a specific pattern, where a small visible problem becomes a larger one that’s harder to describe, photograph, or compare once an improvised repair sits on top of it.
- Touching up with the wrong shade or sheen. Paint that matches in the can can read differently on the wall, and an eggshell dab on a flat wall shows as a shiny square whenever light crosses it.
- Too much spackle. A raised mound around a nail hole throws a shadow that the hole itself never did.
- Sanding a small repair. Sanding feathers outward, and the scuffed paint around the patch becomes part of the repair.
- An aggressive cleaner on a delicate finish. Flat paint, coated fixtures, natural stone, and some appliance exteriors can dull or discolor under products that are fine elsewhere.
- Soaking or scrubbing a stain. Over-wetting can leave a ring larger than the original mark, and hard scrubbing can change the texture or color of the fibers.
- Forcing a loose fixture. Cranking a screw into a stripped hole or a spinning anchor can crack tile or widen the hole in the drywall.
Before you touch anything in the document or leave-alone piles, run it through four questions:
- Can the original condition be documented? If you haven’t photographed it yet, do that first.
- Do you know the exact material or product, whether that’s the paint color and sheen, the floor finish, or the countertop material?
- Is the fix reversible if it looks wrong?
- Could the repair make the affected area larger or more obvious?
A no to the second or third question probably moves the mark into the document pile.
When Each Move-Out Task Should Happen
Treating the whole checklist as a move-out-day job forces rushed choices, and rushed choices land in the wrong pile. Your lease or local rules may set their own dates for notice, inspections, or key return, and those take priority over this rough schedule.
- Reread the lease sections on move-out condition, cleaning, and deposit return.
- Find your move-in photos, video, and any signed condition report.
- Walk the apartment with that record open and list anything you’d like to fix or ask about.
- Send questions in writing, such as whether holes should be filled, whether matching paint is available, or what a cleaning clause means.
- Start anything that needs drying, curing, a replacement part, or a follow-up visit, including maintenance requests.
- Deep clean room by room.
- Take down renter-installed items like hooks, strips, rods, liners, and decals.
- Inspect each area as it empties.
- Deal with reversible residue while you still have time to stop if a method isn’t working.
- Photograph newly exposed floors and walls before cleaning them.
- Pull up the move-in photos of those same spots and compare.
- Photograph the final condition room by room, in the same order you used at move-in.
- Photograph utility meters if the accounts are in your name.
- Count keys, fobs, garage remotes, and mailbox keys, and photograph them together before handing them over.
- Attend the walkthrough if one is offered or can be arranged, and ask for a copy of any notes.
- Give your forwarding address in writing.
Building the Comparison Record
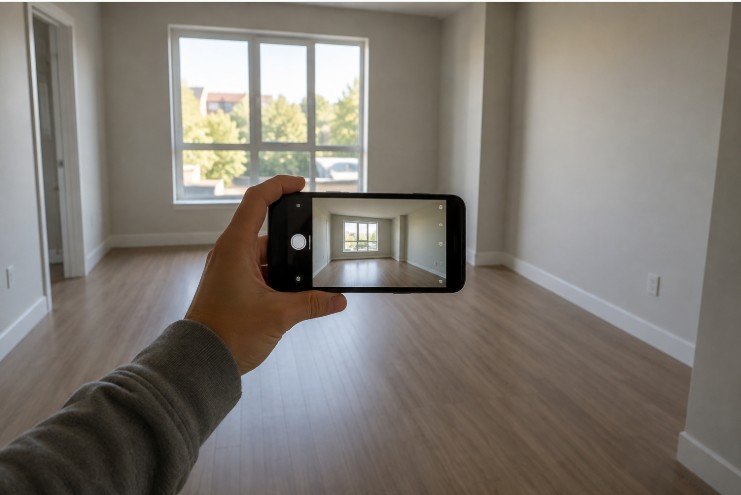
Final-day photos are only half a record. They become useful when each one has a move-in counterpart taken from roughly the same spot.
- Take current photos before making questionable repairs. A wide shot shows where the mark is. A close-up with a coin or tape measure in frame shows its size.
- Match the room and angle to your move-in photos. Stand where you stood the first time, in similar light if you can.
- Compare instead of relying on memory. Put the two images side by side and note whether each spot is unchanged, changed, or new.
- Put questions and requests in writing. Email or the property’s portal leaves a record that a hallway conversation doesn’t. Keep the replies.
- Photograph again after cleaning or repairs, from the same angles, so the before and after line up.
- Attend the walkthrough if one is offered or arranged, with your move-in photos open on your phone.
- Keep dated copies of photos, the condition report, and messages. Store the original files rather than versions forwarded through messaging apps, which may compress images or drop their date information.
Documentation gives whoever reviews the unit a clearer record of how its condition changed over time. It doesn’t decide how your lease or local rules treat what the photos show. This is not a guarantee. It does replace memory with something both sides can look at.
If You Don’t Have Move-In Records
The comparison gets harder, not impossible. Look for anything dated that shows the apartment early in the tenancy: the original listing photos, a condition form buried in your lease paperwork, emails from the first weeks, maintenance requests you submitted, and photos on your phone where a room happens to appear in the background. Ask the landlord or property manager in writing for a copy of any move-in inspection report they have on file.
Then photograph everything in more detail than seems necessary, and point directly to any condition you reported during the tenancy.
- Read the lease.
- Check any written move-out instructions.
- Ask unclear questions in writing.
- Keep dated move-in and move-out photos.
- Save relevant emails and messages.
- Don’t assume an attempted cosmetic repair is automatically better than documentation.
One last task before the keys leave your hand. Send the landlord or property manager a short email stating the date you returned the keys, how many, and that final condition photos were taken, then save the sent message in the same folder as the photos.