Renter Friendly Wall Hanging: 4 Methods and What Each Can Leave Behind
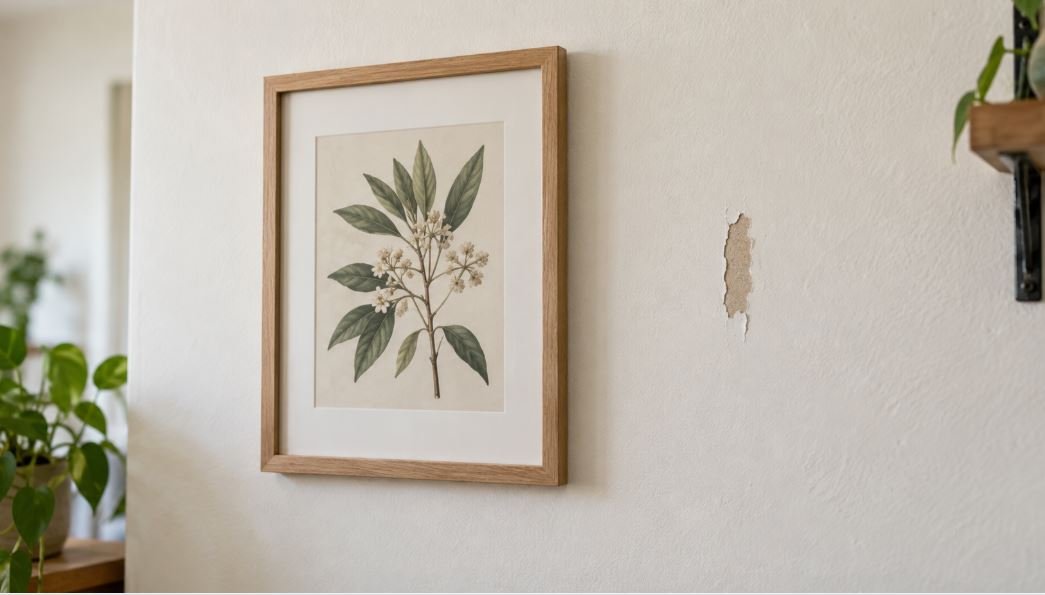
A common move-out finding in units with no nail holes at all: a row of pale brown rectangles along a hallway, each one the size of an adhesive strip, where paint and the top layer of drywall paper came off together. The frames never fell. The damage showed up when they came down.
Renter friendly wall hanging comes down to picking a method your wall, your lease, and the item can all live with. The same logic applies to curtain rods that don’t damage walls: there are four realistic options here, and each one carries a different kind of risk. The table below lays them out, and the sections after it explain where each one tends to go wrong.
Renter friendly wall hanging means choosing mounting methods that fit what your lease allows and what your walls can handle, with the goal of keeping damage to a minimum. The usual options are stretch-release adhesive strips, thin steel pin hooks that leave small holes, and furniture or mirrors designed to stand on the floor. None of them is damage-free on every wall.
Renter Friendly Wall Hanging Methods Compared
| Method | Suited to | Surface needed | Main risk | What may be left | Deposit Risk |
|---|---|---|---|---|---|
| Stretch-release picture strips | Light to mid-weight flat-backed frames | Smooth, fully cured paint | Paint lifting at removal | Nothing, or a torn patch of paint | Low |
| Steel pin hooks | Wired frames, heavier pieces | Whatever the hook’s packaging lists | Holes the lease may count as damage | Small pinholes | Moderate |
| Freestanding or leaning mirror | Large mirrors and oversized art | Stable floor | Tipping, scuffs where the frame rests | Possible scuff line | Low |
| Double-sided gel / “nano” tape | Marketed for almost everything | Glass, tile | Paint lifting, residue | Lifted paint, sticky film | High |
Why Adhesive Damage Usually Shows Up at Removal
Stretch-release adhesive, the kind used on Command-style strips, is designed to let go when the tab is stretched slowly downward, close to the wall. Pulled outward instead, it keeps its grip, and the pull transfers to whatever is weakest underneath: the paint film, or on drywall, the paper face below it. Removal guides note the tab can stretch 12 to 15 inches before the strip releases, which is further than it feels like it should go.
Removal technique is only half of it, though. A strip can be taken down correctly and still lift paint if the paint itself isn’t holding well to the wall. 3M’s guidance says painted walls work when the paint is fully cured, clean, smooth, and in good condition, and it doesn’t recommend its strips on wallpaper (which has its own removal problems, covered in the peel-and-stick wallpaper guide), brick, rough concrete, or heavily textured surfaces. User reports point the same way on finish: flat and matte paints come up more often in paint-lifting complaints than satin or semi-gloss.
What You Can’t See: Turnover Paint
There’s no way to know from the surface what’s under a rental’s paint. Units are often repainted between tenants, frequently in flat finishes, and that coat may have gone over dust, over an unscuffed older gloss layer, or over unprimed patches. Any of those can weaken the paint’s hold on the wall, and none of them are visible.
Timing matters too. The Command FAQ recommends waiting a week after painting before applying its products, and notes that rubbing alcohol, the usual cleaning step, may dull the surface of fresh paint. If the unit was painted just before your lease began, the practical answer is to wait before putting adhesive on those walls at all. Asking the landlord or property manager when the unit was last painted, and in what finish, is a reasonable question that helps with every decision below.
A Quick Pre-Check Before Anything Goes Up
Three things to look at
- Surface. Run your palm across the wall. Smooth painted drywall is where adhesive is designed to work. Orange-peel or knockdown texture, rough plaster, brick, or wallpaper generally rule adhesive out.
- Finish. Shine a phone flashlight along the wall at a low angle. A soft, even glow suggests flat or matte paint; a visible sheen suggests eggshell or satin. This is only an estimate of finish. It tells you nothing about how well the paint is bonded or whether it has fully cured.
- The item. Weigh it (stand on a bathroom scale holding it, then subtract your own weight), and note whether it has a wire, a sawtooth hanger, or a flat back, and whether it’s glass-fronted.
Stretch-Release Picture Hanging Strips
Interlocking strips put one half on the frame and one half on the wall, and the two press together. Nothing goes into the wall. On a smooth, cured, sound paint surface, removal done correctly usually leaves nothing behind.
The weight rating on the package assumes that kind of surface. Texture reduces how much of the adhesive actually touches the wall, so the rated weight is a ceiling rather than a promise. The removal tab also needs to stay reachable. If a frame edge covers it or it gets trimmed off, normal stretch removal becomes difficult, and the fallback methods (floss, gentle heat) are slower and less predictable.
Not a good fit for wallpaper, textured walls, humid bathrooms, or heavy glass-fronted pieces hung where a fall could hurt someone.
Double-Sided Gel “Nano” Tape
The clear, rubbery tape sold in rolls is often described as washable, reusable, and traceless. On glass or tile, it can come off cleanly.
Painted drywall is a different surface. Gel tape has no stretch-release design and no tab, so it comes off by peeling away from the wall, which is the direction most likely to lift paint. It can also leave a tacky film that needs a solvent to remove, and solvent on flat paint can leave a mark of its own.
If you already have some, it’s better kept for tile backsplashes or the inside of cabinet doors than painted walls.
Steel Pin Picture Hooks
These hooks hold with one or more thin, hardened steel pins set into the wall at an angle, instead of a nail. They leave holes, which is why they’re rated Moderate. The holes are small, though, and on flat paint where adhesive removal is less predictable, a few pinholes may be the easier thing to deal with at move-out.
Whether those holes cost anything depends on your lease. Some treat small picture-hanging holes as normal use, and others count any hole as damage. Read the wording and photograph the walls before hanging anything.
For anything heavier than a frame, like books or plants, pin hooks aren’t the right tool; renter-friendly shelves cover those loads. Wall compatibility also varies by product. Check the packaging for the surfaces a given hook is rated for, especially on plaster, which can crack or crumble depending on its age and condition.
Freestanding or Leaning Mirrors
A mirror designed to stand on the floor, either with its own stand or with a frame made for leaning, can often skip wall mounting entirely. That makes it a practical choice for large mirrors, where adhesive and pin hooks run out of margin.
It still needs some care. Only lean a mirror that’s built for it, and follow the manufacturer’s instructions; some leaning mirrors come with a wall strap or anchor the maker says to use, which puts you back into lease territory. Keep it out of walkways, especially with kids or pets around. Where the top edge rests against the wall, felt pads help prevent a scuff line from forming over time.
How to Hang and Remove Adhesive Strips
- Test in a hidden spot. Put one strip inside a closet or behind a door, leave it for a few days, then remove it correctly and check the wall. If paint lifts, treat that as a warning for similar walls in the unit. If it comes off clean, that’s a good sign, but not a guarantee for every wall.
- Let recent paint cure. If the walls were painted recently, wait before applying adhesive, per the product’s instructions.
- Prep as the package says. Clean the surface the way the product’s instructions describe, and follow its guidance on room temperature and how long to wait before hanging weight.
- Leave the tab reachable. Position the frame so it doesn’t cover any removal tabs.
- Remove by stretching down, slowly. Lift the frame off first. Then hold the top of the wall-side strip with one hand and stretch the tab straight down, close to the wall, with the other. Keep going past the point where it seems stuck. Don’t pull it out toward you.
- If a tab breaks, don’t pry at the edges. Sliding dental floss behind the strip and sawing gently, or warming the adhesive briefly with a hair dryer on low, are the usual fallbacks.
Which Method Fits Your Situation
Before anything goes up: photograph every wall you plan to use, in good light, with dates on the photos. The move-in inspection checklist walks through how to document walls so the photos hold up later. Read the lease for wording about nails, picture hooks, holes, or adhesives, since leases differ widely on this. If it’s unclear, a short email to the landlord asking what’s allowed gets you a written answer to refer back to at move-out.
Related Guides
Most of the risk here is manageable with a little checking up front: know what your lease says, get a sense of the paint, and match the method to the item. And when move-out comes, give yourself time to take things down slowly.